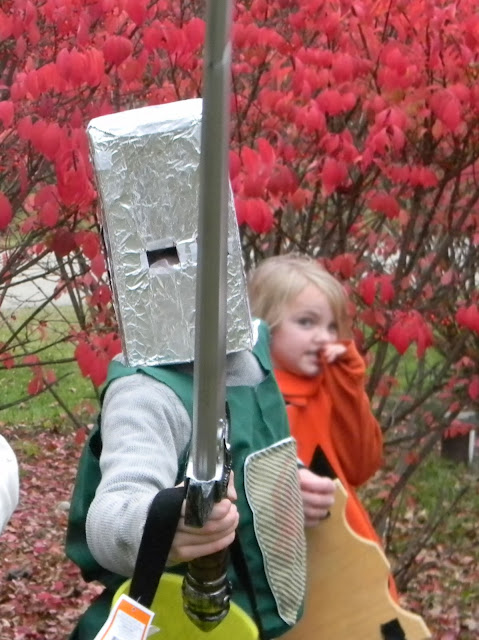
Wow, I think, he's right. "OK," I say, "but, not that pillowcase."
I'm always surprised at the things this boy comes up with, I never would have thought of turning an old pillowcase into a knight's tunic. This is his tutorial.
You will need:
- A Pillowcase
- Cardboard box
- Fabric scraps
- (Mommy note, you may also need some tin foil, heavy duty scissors or utility knife with parental supervision and a shield pattern to trace)
Find a pillowcase and ask your mom if you can cut it up. Cut a hole for your head. Fold the pillowcase in half and then snip (gesturing with fingers snip snip snip)
Cut the arms. Fold again and snip just like the head. Cut the leg flaps
(Mommy note: If this will be used for dress up play after Halloween you may want to zigzag or serge around the raw edges so they won't fray or rip further.)
Shield Decoration
Take 2 pieces of fabric and cut them in the shape of a shield.
Then you take a sewing machine and sew the shield together. (Mommy note: right sides together, like a pillow, leave an opening or use some fusible webbing to create an iron on shield that wont fray).
Flip it right side out and then push your fingers so you have nice sharp edges. Well, they won't be that sharp, but they'll still be sharp.
Then, you put a dragon on it. You can color one with fabric markers if you want. If you don't, sew the dragon on with fabric (applique).
 |
| The original dragon sketch |
The Helmet
Make the eye holes. Put the helmet on and mark the spot for the eyes, take scissors and cut eye holes and it might be a little hard. If it's too hard use sharper scissors. (Mommy note: ask for mom or dad's help)
Put tin foil on it and then you poke the eye holes through the tin foil.
Finish it off
Add a belt.
Yell out loud. AAAHHHH!


No comments:
Post a Comment